DIY | Last-Minute Advent Calendar
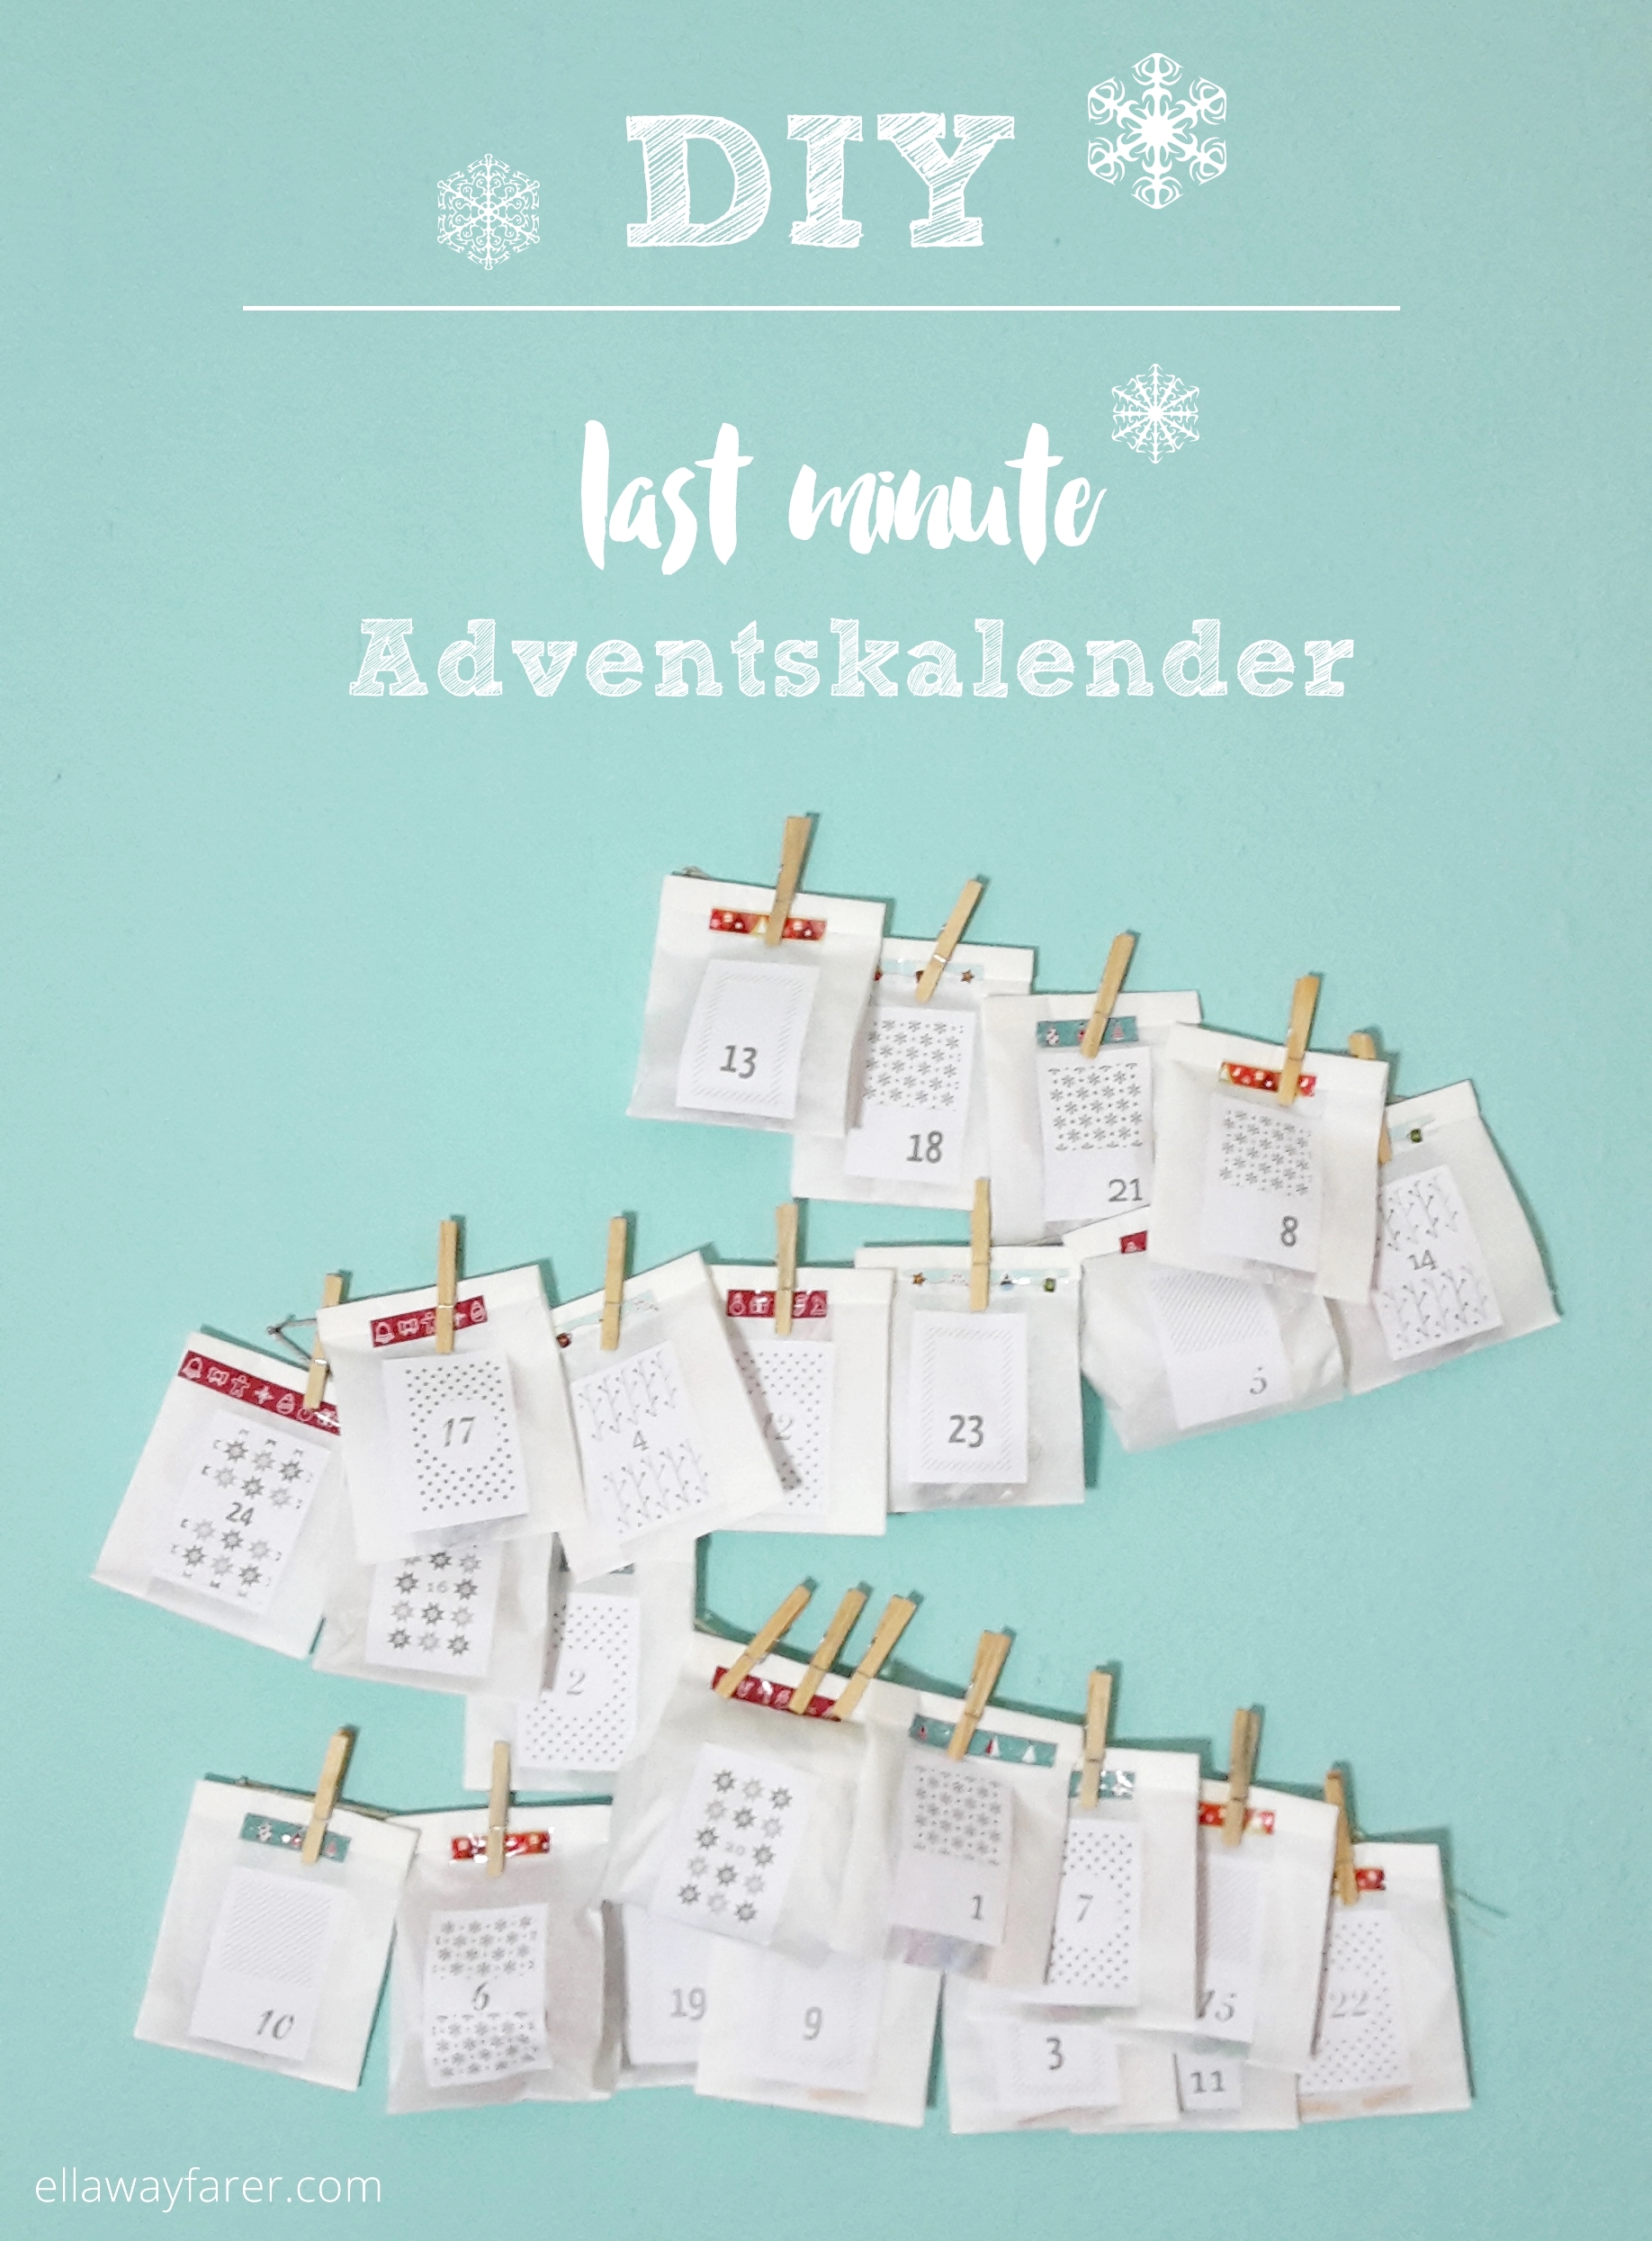

Only 3 days left until Decembeeeeeerrrrrrr! I wasn’t quite sure if I wanted to make an advent calendar this year… but yesterday I made the very spontaneous decision to finally make one for my flatmates. And I promise you, you can still make one on the 30th of November. It’s super quick and fast and easy and you don’t need a lot of things. I’ll tell you how I made this my advent calendar.
Nur noch 3 Tage dann ist Dezembeeeeerrrrrr! Ich konnte mich die ganze Zeit nicht entschieden, ob ich dieses Jahr nun einen Adventskalender bastle oder nicht… aber gestern habe ich mich dann doch spontan entschieden, einen für meine WG zu machen. Und ich verspreche euch, den kann man auch noch am 30. November zaubern. Super schnell und einfach und man braucht nicht viele Dinge. Ich zeig dir, wie ich diesen Adventskalender gemacht habe.
You Need
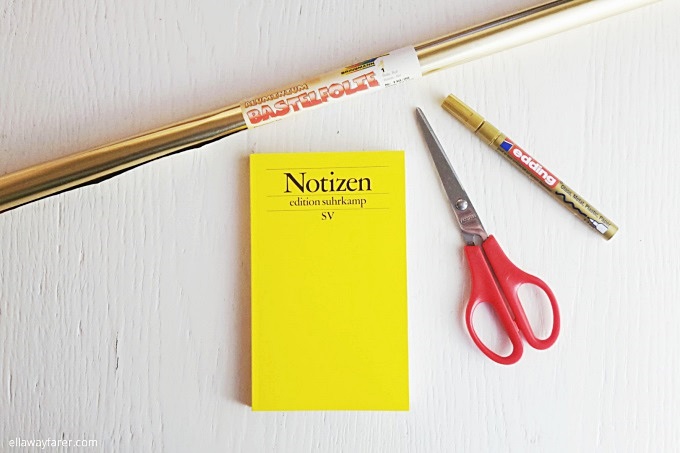
The Basics
- small paper bags
- cord
- clothes pins
- (washi) tape or cord to close the bags
- numbers: from a printable or handwritten
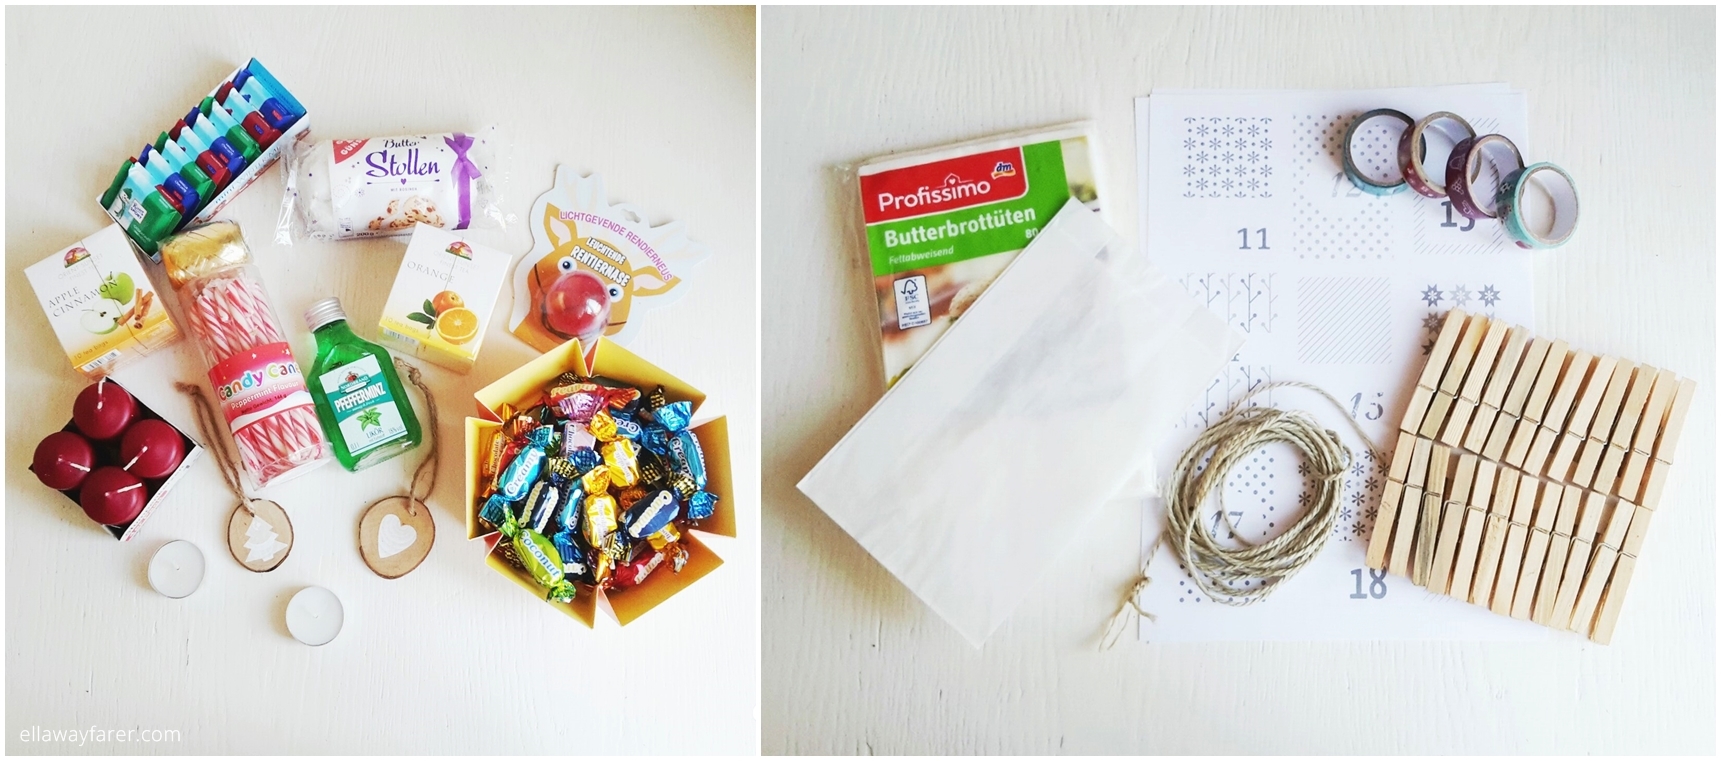
Stuff to put inside
This is what I bought. For my flatmates it had to be quite neutral – we are 3 girls and 3 boys. See the left picture.
- chocolate in small packaging
- winter tea
- christmas decoration
- Stollen (German christmas bread – delicious!)
- blinking Rudolph nose
- Schnaps (they are my flatmates… I know they want this 😉
- candles for our advent wreath
- tealights
- candy canes
Die Basics
- Papiertüten (z.B. Frühstücksbeutel aus dem Drogeriemarkt)
- eine robuste Schnur
- Klammern
- Washi Tape, Klebeband oder Schnur zum Schließen der Tüten
- Zahlen: von einem Printable oder handgeschrieben
Zum Befüllen
Das habe ich gekauft. Für meine Mitbewohner musste es ja relativ neutral sein – wir sind 3 Mädels und 3 Jungs.
- Schokolade in kleiner Verpackung
- Wintertee
- Weihnachtsdekoration
- Stollen
- blinkende Rudolphnase (Xenos 1,49€ – superlustiges Schnäppchen)
- Schnaps (ich weiß doch, was meine Mitbewohner wollen 😉
- Kerzen für den Adventskranz
- Teelichter
- Candy Canes
LET’S GO
1
If you have printables, cut them put and glue them to the paper bags. Otherwise take some colourful pens and draw the numbers, maybe embellish them with some reindeers, Santas, branches and candles 🙂 Mine were a liiiittle bit see through, so I chose bigger printables to keep the christmas secret of what’s inside the bag.
Wenn du Printables hast, schneide sie aus und klebe sie auf die Beutel. Ansonsten zeichnest du die Zahlen mit ein paar bunten Stiften auf, vielleicht verschönerst du sie noch mit ein paar Rentieren, Weihanchtsmännern, Zweigen und Kerzen 😉 Meine waren ein biiiisschen durchsichtig, also habe ich größere Printables genommen, um das Weihnachtsgeheimnis aufrecht zu erhalten. Soll ja keiner sehen, was da drin ist!
2
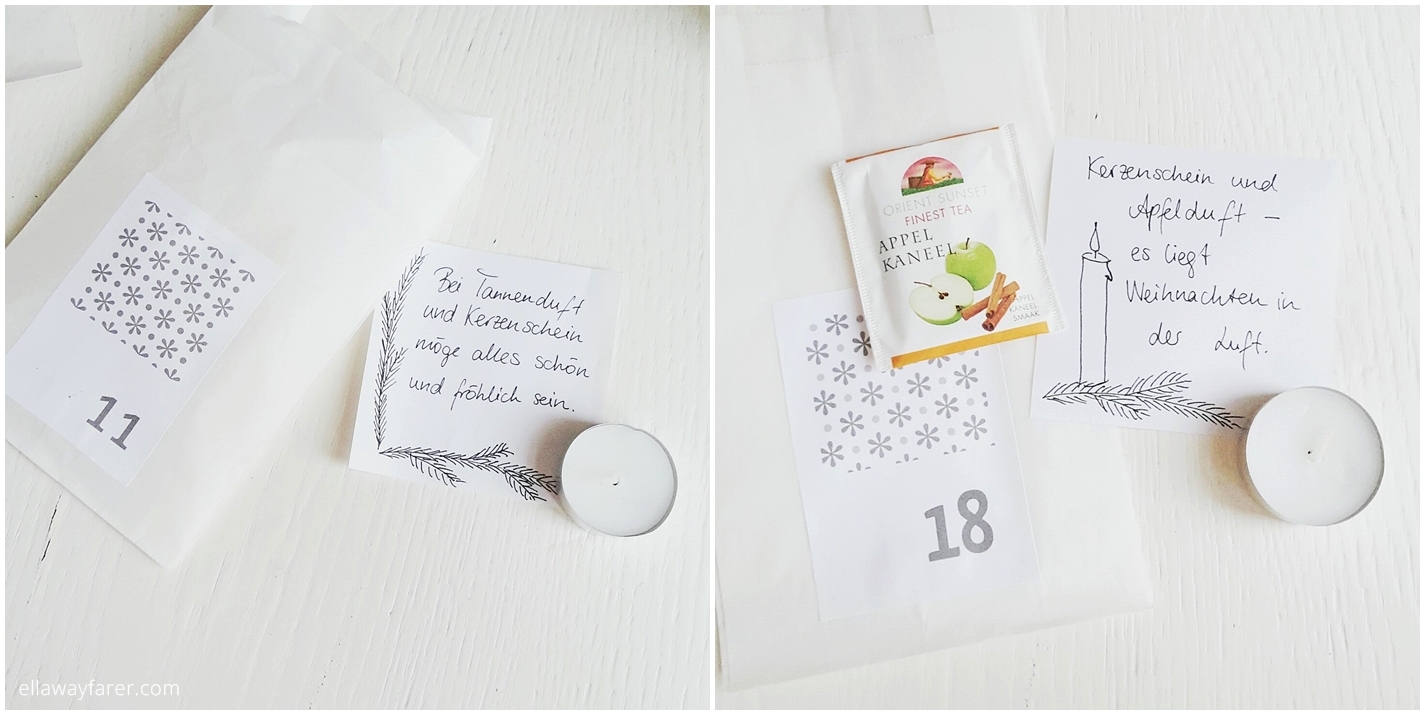
Now you just need to fill those little bags! I tried to make a very diverse advent calendar, so that we won’t have 5 days of only chocolate. I also wrote a few short poems or sayings and included something that fits to the text, like Apple Tea and a candle for a poem that says „Candlelight and a scent of apple, christmas is in the air“ – only that it rhymes in German 😀
Jetzt musst du nur noch die kleinen Beutelchen füllen! Ich habe versucht, den Kalender abwechslungsreich zu gestalten, sodass es nicht 5 Tage lang nur Schokolade gibt. Ich habe auch ein paar Gedichte und Sprüche geschrieben, und dazu passende Dinge in die Beutel gelegt, wie ihr auf den Bildern seht 😉
3

When you’re done with the bags, take your cord (it should be about 2 m long) and make a knot with a loop. Then you can attach the cord to 2 nails in the wall, or more, as you can see on the picture, depending on how much space you have. Then hang up every bag with a clothespin, or more if the bag is heavier. And then you’re done already!
Wenn die Beutel fertig sind, nimmst du die Schnur ( sie sollte ca 2 m lang sein) und machst einen Knoten mit einer Schlaufe. Damit kannst du die Schnur an 2 Nägeln fest machen, oder mehr, je nachdem wie viel Platz du hast. Dann hängst du jeden Beutel mit einer Klammer auf, oder mehreren, wenn die Beutel schwerer sind. Und dann bist du schon fertig!